Sometimes it is the simple things that give the greatest pleasure. The folk at GearHooks have applied this principle to the art of bike storage. Whether it's using a wall hanger or a wall mounted bike rack, they have produced a product that lets you achieve this without minimal fuss or effort.

The idea for GearHooks was born of necessity. The designers had a family, lots of bikes and needed to find a solution. They tried various products on the market but none seemed to do it all. They were either too flimsy or needed to be moved to accommodate additional bikes.
Not an ideal scenario when you keep having to drill holes: besides the swiss cheese look of the walls, it's a right pain. So they took their considerable design and manufacturing experience and put it to use.
Anyone with a garage, shed or "cave" cluttered with bikes will know that trying to keep the area clear can be difficult at the best of times. GearHooks' solution is to take the humble wall hanger and turn it into a versatile super-hero capable of supporting your road, mountain or electric bike.
It's more than a simple hook though; GearHooks offer an expandable system for use with multiple bikes, ranging from a twin hook to an entire rail that will support up to five bikes.
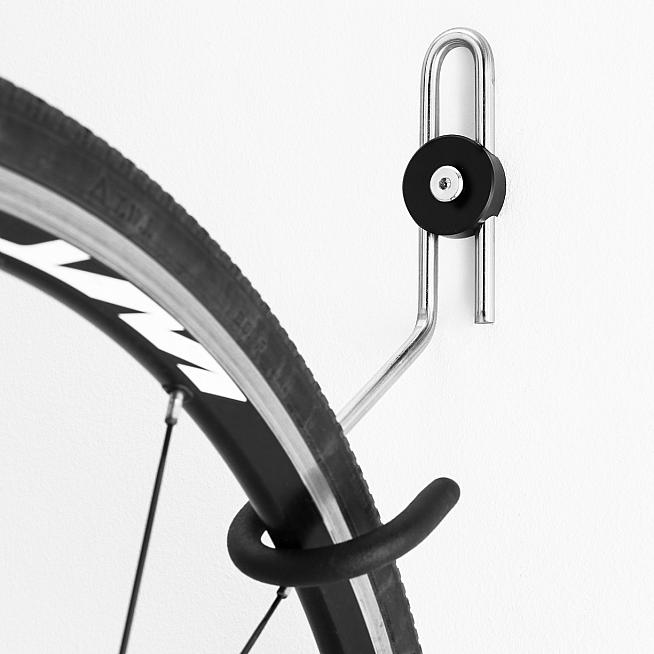
I tested the GearHooks B1, which is a single hook for hanging one bike. When the package arrived, it was small and lightweight: I opened it to find a zinc-plated steel hanger and fixings, with a rubber coating over the "hook" to protect your bike wheel.

I was intrigued to see how easy the installation process would be - and, more importantly for anyone who has gone down this rocky road, how secure would your pride and joy be?
On opening said package, I was surprised but also a tad sceptical to see the GearHook required one 70mm hole to be drilled before fitting.
The instructions were straightforward and informative, advising on positioning, material types to be attached to etc. You can fit the hook to plasterboard, wood battens or masonry and it will support up to 20kg.
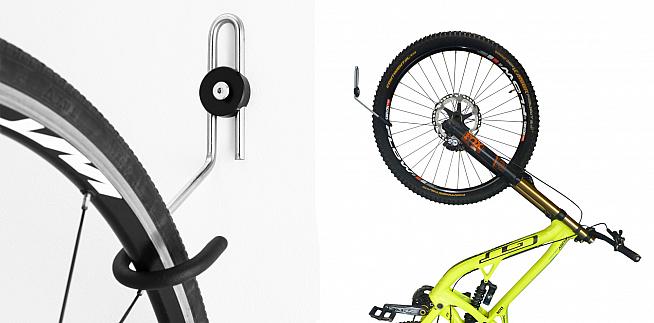
You can choose to hang your bike high up, or position the GearHook lower so that the rear wheel of your bike will rest on the floor when stored.
I chose to have the back wheel on the floor. I think it's a good option if you don't want to have to lift your bike onto the hook, especially useful for heavier mountain bikes or e-bikes.
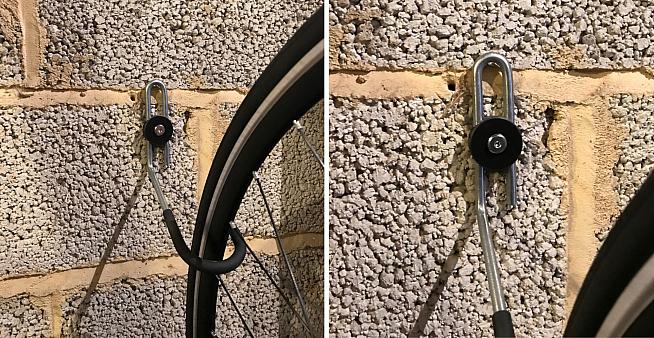
Spot selected, X marked the spot and it was time for a spot of drilling. I was attaching my GearHook to the garage wall, so in less than a minute the masonry drill bit had made short work of the task.
Time to insert the supplied rawl plug (sorry, "expanding nylon fitting"): a quick tap with a hammer and it was in. Lining up the GearHook against the markings took a minute or so, and taking time to make sure you have the right position is certainly worthwhile. However, the design means that you can easily raise or lower the hook by a few cm either way without drilling a new hole.
Once in the correct position I then offered up the hook and secured it to the wall with the hex bolt. Job done.

I was impressed by the ease of installation and clear instructions; it probably took more time to get the drill out than actually fit the GearHook.
The bike is now safely stowed out of the way on the GearHook, and it only takes a matter of seconds to rack it after a ride.
GearHooks have identified a gap in the market and filled it with products that do the job simply and effectively - oh yes, and they don't break the bank. The single hook I used is currently less than a tenner! That is hard to beat.
GearHooks B1 wall hook, £9.95 from gearhooks.com.
0 Comments


